

|
 24-06-2008, 15:38
|
#1 |
|
HOMO-Sapien

Join Date: Jun 2006
Location: Chelmsford
Posts: 6,692
|
Firstly, here is the list of components making up the the loop.
Radiator *Manufacturer : Swiftech *Model : MCR320-QP-K Triple 120mm *Barb size : 1/2" Radiator cooling *Model : 3 x Scythe Kaze Jyuni 1200rpm Reservoir/Pump *Manufacturer : XSPC *Model : Dual 750 clear Bay Reservoir with pump *Pump Speed : 750 LPH *Barb Size : 1/2" CPU Waterblock *Manufacturer : XSPC *Model : XSPC Edge Acrylic CPU Waterblock *Inlet/Outlet Ports : 2 x G1/4 *Barb size : 1/2" GPU Waterblock *Manufacturer : EK *Model : FC-8800 8800 GTX - Acetal *Inlet/Outlet Ports : 4 x G1/4 *Barb Size : 1/2" Tubing by Masterkleer *ID : 7/16" *OD : 5/8" Fan Controller *Manufacturer : Zalman *Model : ZM-MFC1 Plus Black multi fan controller I've opted not to cool the chipset.. I just felt for the first watercooling built, one step at a time. edit - Some pictures are reduced quality as they were taken on a phone camera : Here the Coolermaster RC1100 Sport "S" is being prepared. The reservoir/pump are in place and the rad is just about to go into the roof.NB.. The rad actually mean the top 2 bays can't be used as they take up half the space.. However, this is fine for the fan controller. 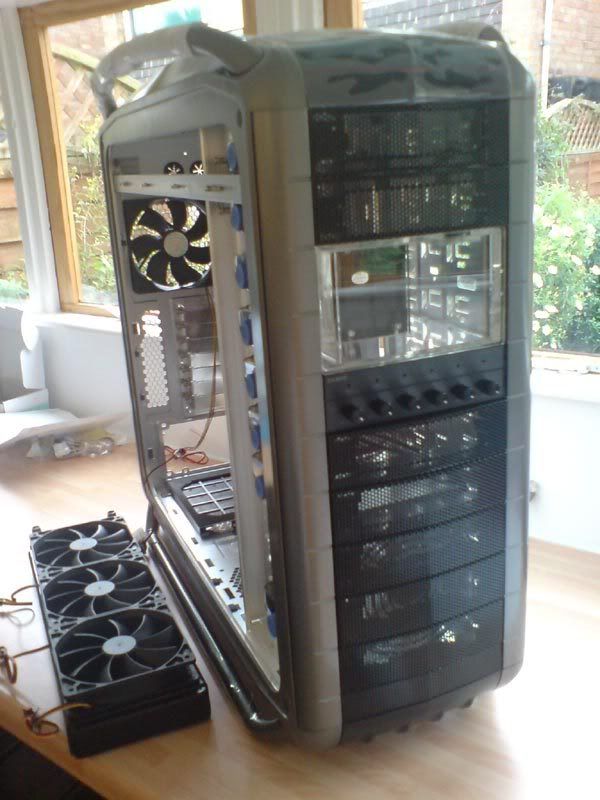 The motherboard (Asus P5KC) has been removed from the old system. I've left the CPU in the socket for the time being. 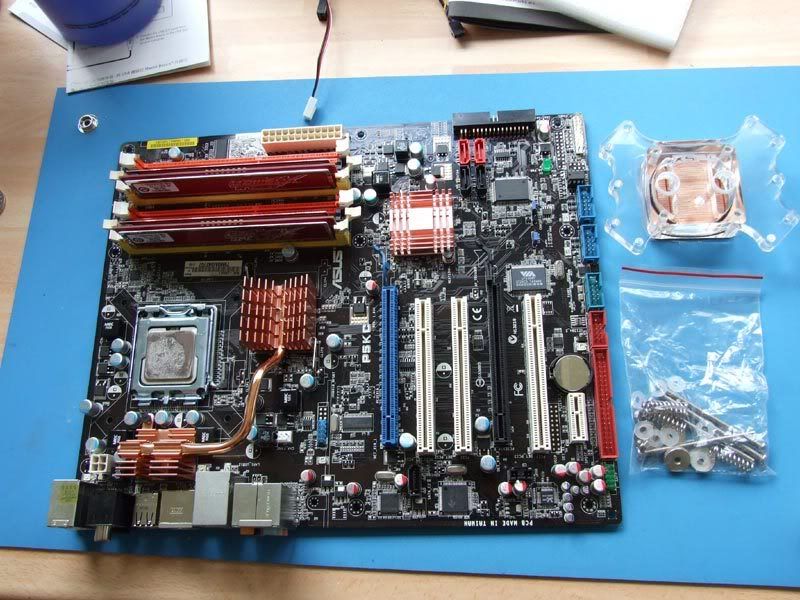 A close-up reveals 8 months of heat displacement and gives a good idea of the contact being made. Note the lack of contact on the nottom right.. I'm going to lag this later... 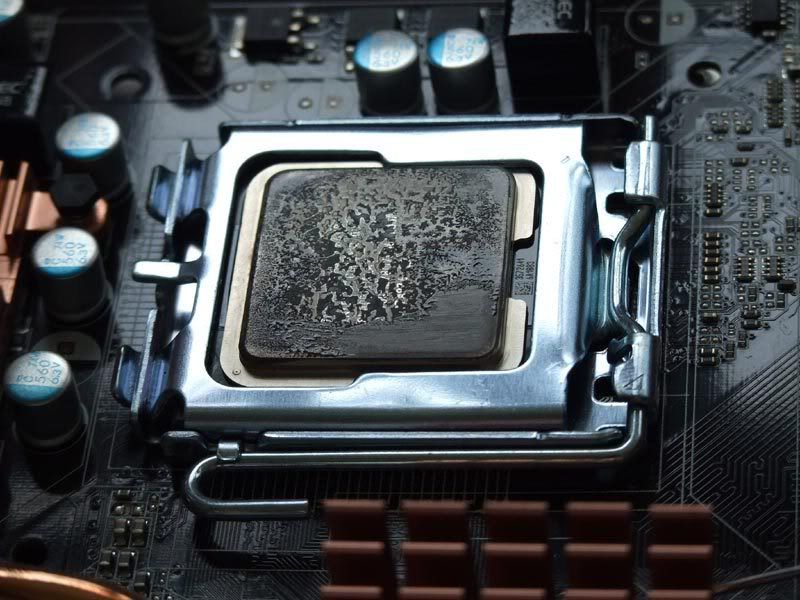 The XSPC Edge, Notice the fins inside.. 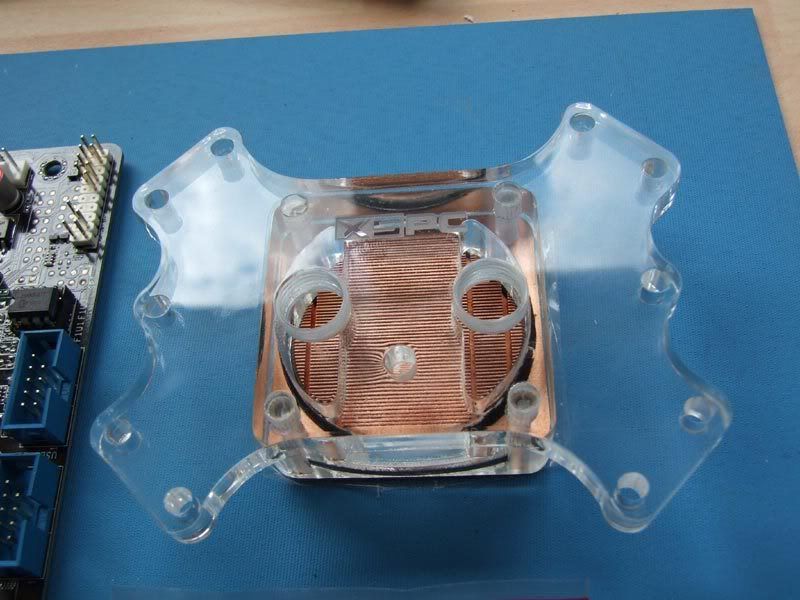 With no hanging around, I've installed the CPU waterblock mounting screws and fitted the motherboard. 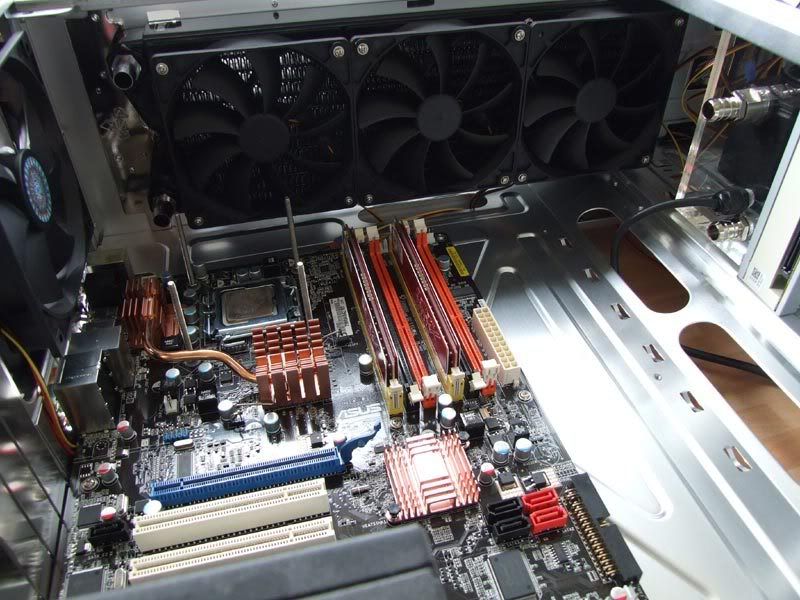
__________________
 I just got lost in thought.. It was very unfamiliar territory. Techie Talk | My gaming Blog | PC spec | The Admirals log |

|

|
| Thread Tools | |
| Display Modes | |
|
|


 Threaded Mode