
|
 24-06-2008, 15:38
|
#1 |
|
HOMO-Sapien

Join Date: Jun 2006
Location: Chelmsford
Posts: 6,692
|
Firstly, here is the list of components making up the the loop.
Radiator *Manufacturer : Swiftech *Model : MCR320-QP-K Triple 120mm *Barb size : 1/2" Radiator cooling *Model : 3 x Scythe Kaze Jyuni 1200rpm Reservoir/Pump *Manufacturer : XSPC *Model : Dual 750 clear Bay Reservoir with pump *Pump Speed : 750 LPH *Barb Size : 1/2" CPU Waterblock *Manufacturer : XSPC *Model : XSPC Edge Acrylic CPU Waterblock *Inlet/Outlet Ports : 2 x G1/4 *Barb size : 1/2" GPU Waterblock *Manufacturer : EK *Model : FC-8800 8800 GTX - Acetal *Inlet/Outlet Ports : 4 x G1/4 *Barb Size : 1/2" Tubing by Masterkleer *ID : 7/16" *OD : 5/8" Fan Controller *Manufacturer : Zalman *Model : ZM-MFC1 Plus Black multi fan controller I've opted not to cool the chipset.. I just felt for the first watercooling built, one step at a time. edit - Some pictures are reduced quality as they were taken on a phone camera : Here the Coolermaster RC1100 Sport "S" is being prepared. The reservoir/pump are in place and the rad is just about to go into the roof.NB.. The rad actually mean the top 2 bays can't be used as they take up half the space.. However, this is fine for the fan controller. 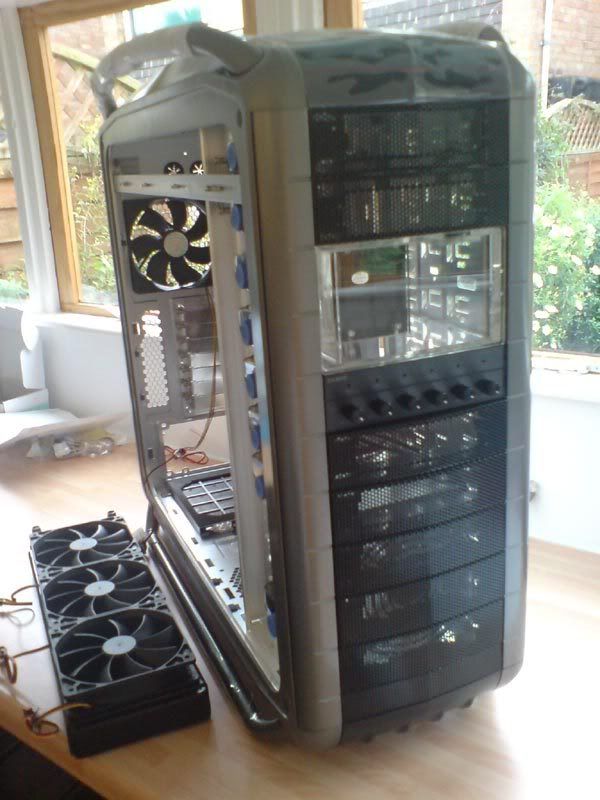 The motherboard (Asus P5KC) has been removed from the old system. I've left the CPU in the socket for the time being. 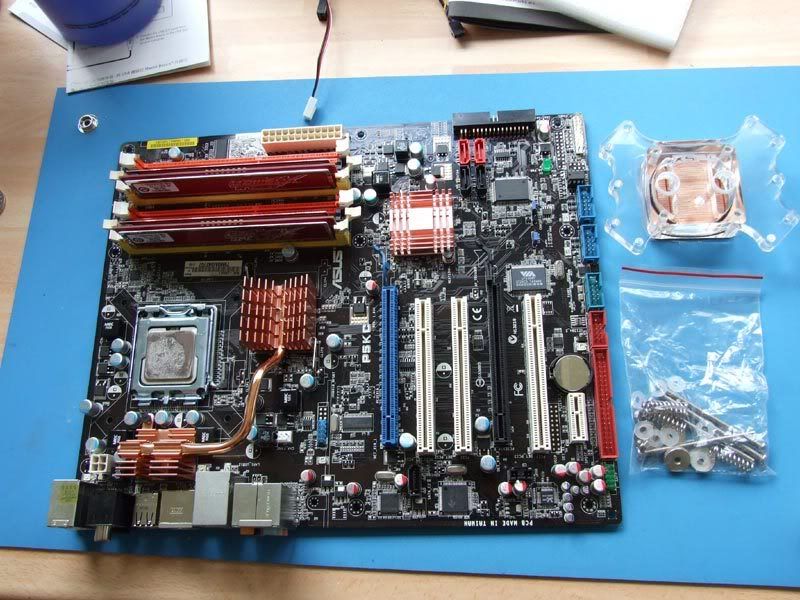 A close-up reveals 8 months of heat displacement and gives a good idea of the contact being made. Note the lack of contact on the nottom right.. I'm going to lag this later... 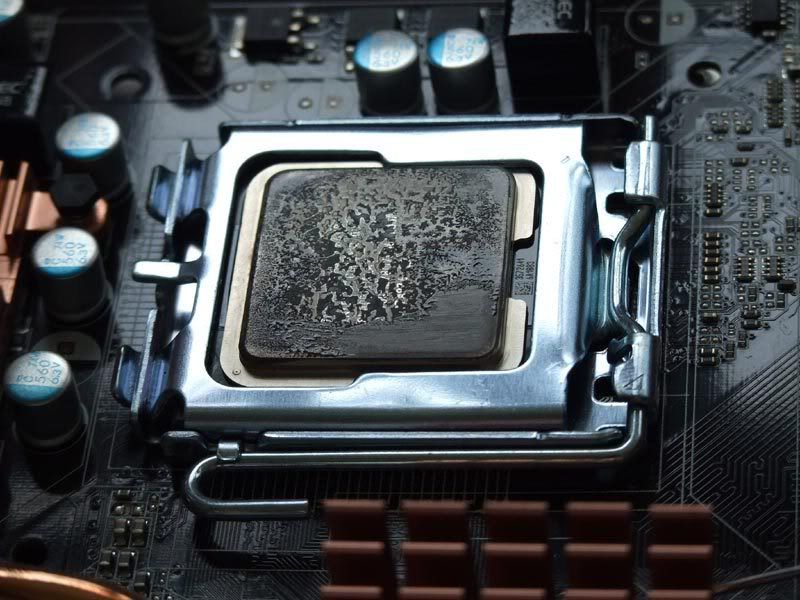 The XSPC Edge, Notice the fins inside.. 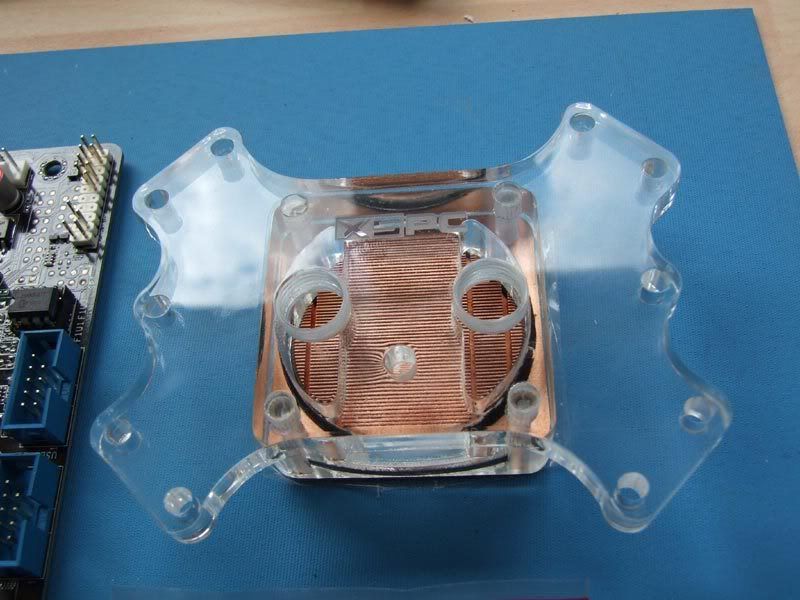 With no hanging around, I've installed the CPU waterblock mounting screws and fitted the motherboard. 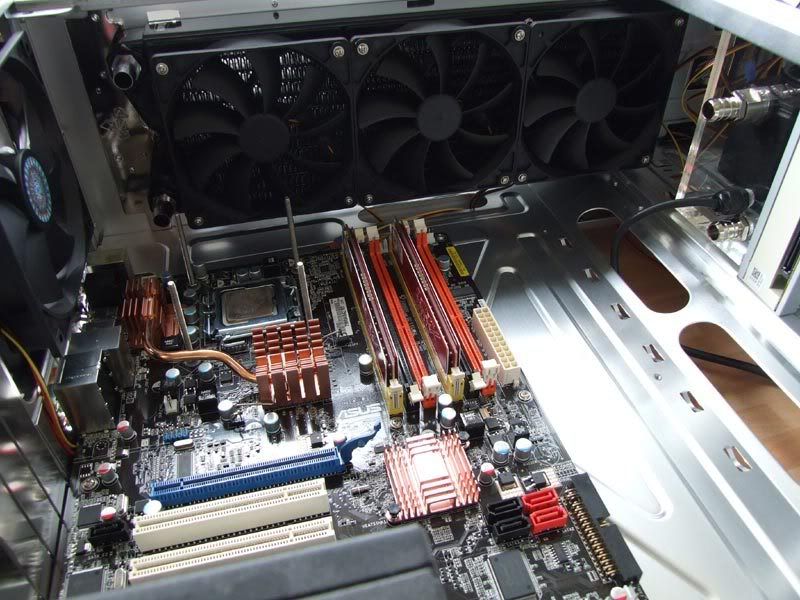
__________________
 I just got lost in thought.. It was very unfamiliar territory. Techie Talk | My gaming Blog | PC spec | The Admirals log |

|

|
|
24-06-2008, 15:38
|
#2 |
|
HOMO-Sapien
Join Date: Jun 2006
Location: Chelmsford
Posts: 6,692
|
now where were we.. oh yes..
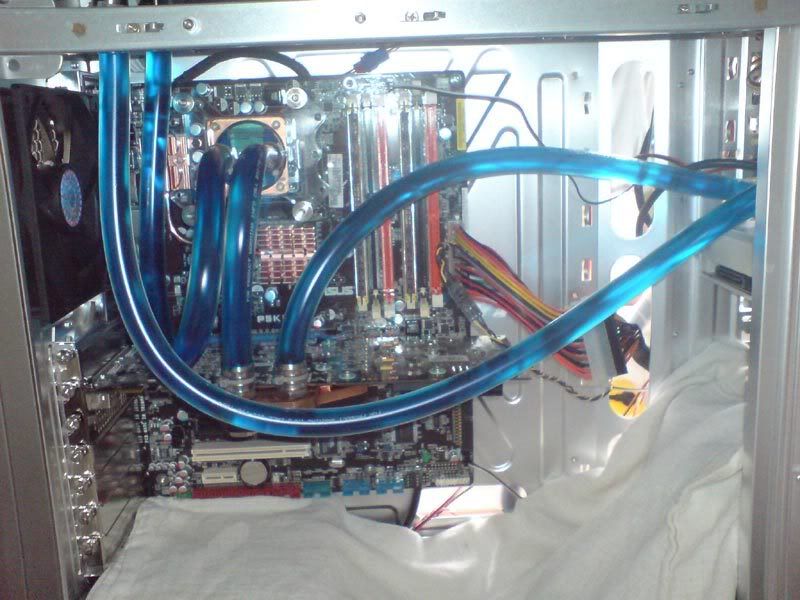
Next up, I've removed the stock cooler from my PNY 8800GTX leaving exposed GPU, RAM chips etc.. I have to say, Thjis was the part I was most worried about but ended up being the simpliest  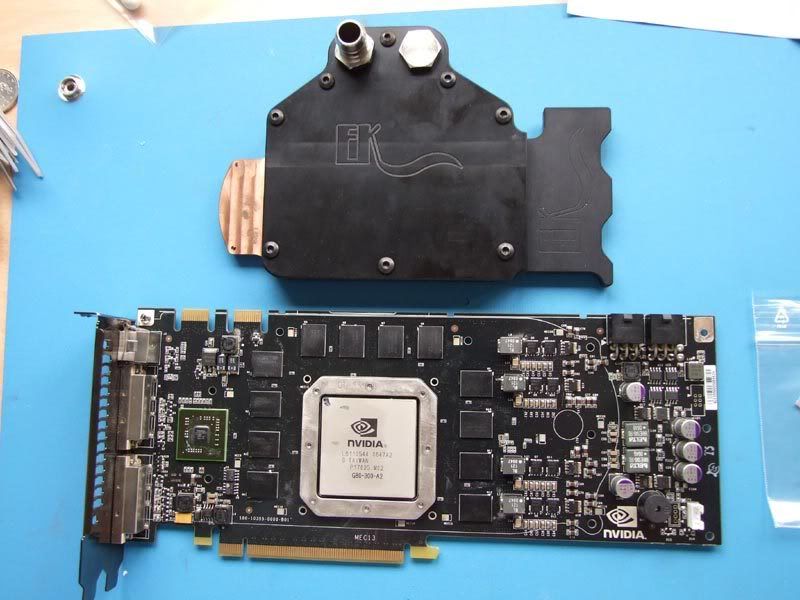 With the CPU lapped and both the CPU and waterblocks in place, it's time to start fixing the tubing: 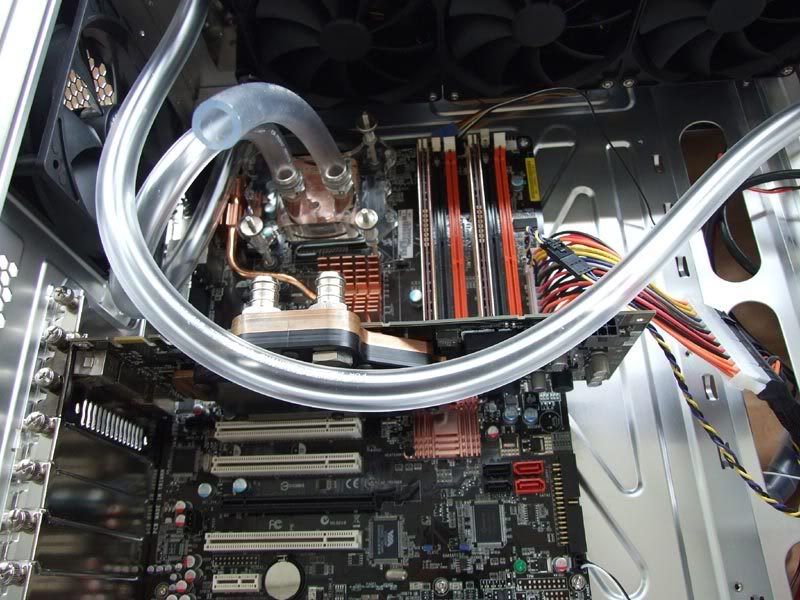 I've used cable ties just for extra re-insurance. 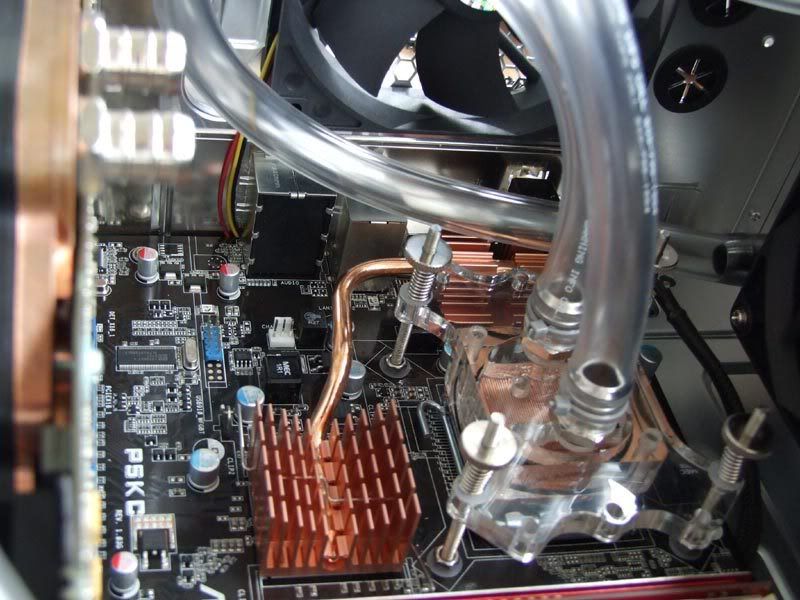 Once all the tubes are correctly in place, it time to start filing the res.. 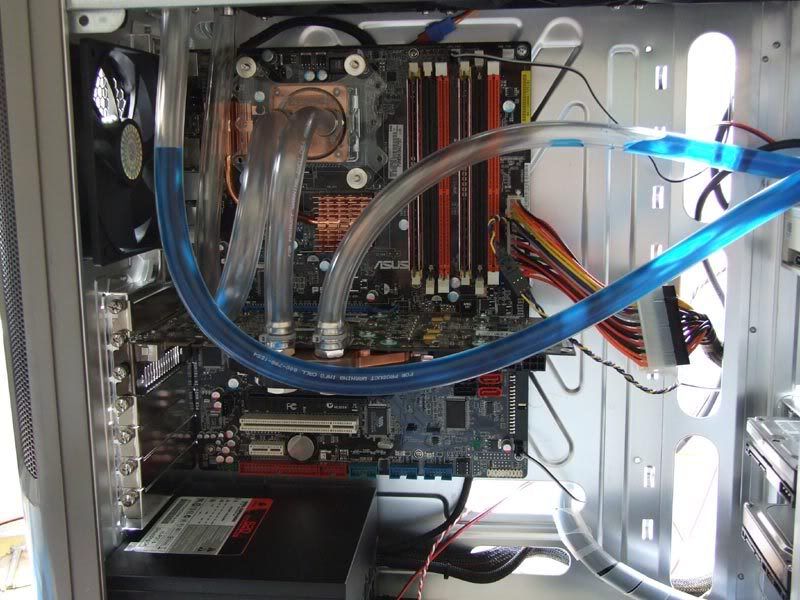 See the tubes gently starting to fill is a wonderful feeling of achievement Next, I've attached a spare PSU using this old method..  Switching the PSU on for just a few seconds at a time allows the tubes to fill further.. You can still see some bubbles here.. 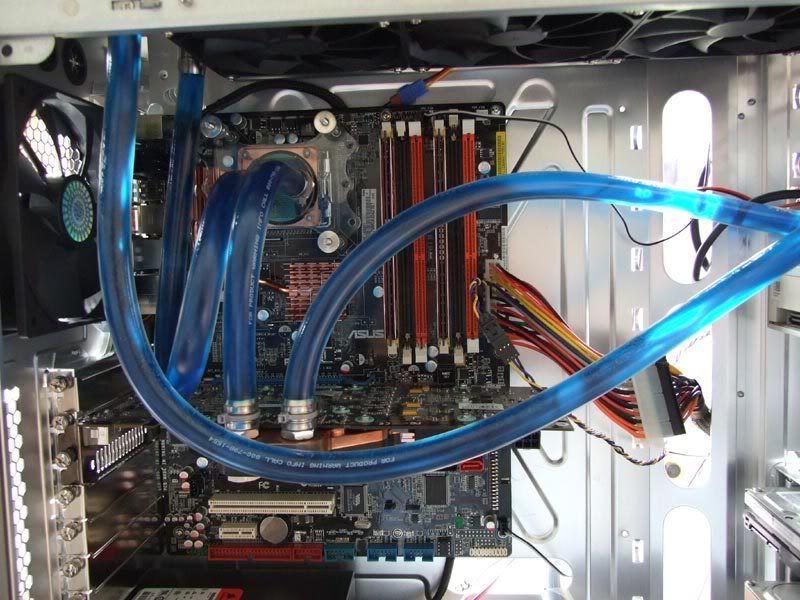 The res is now full. 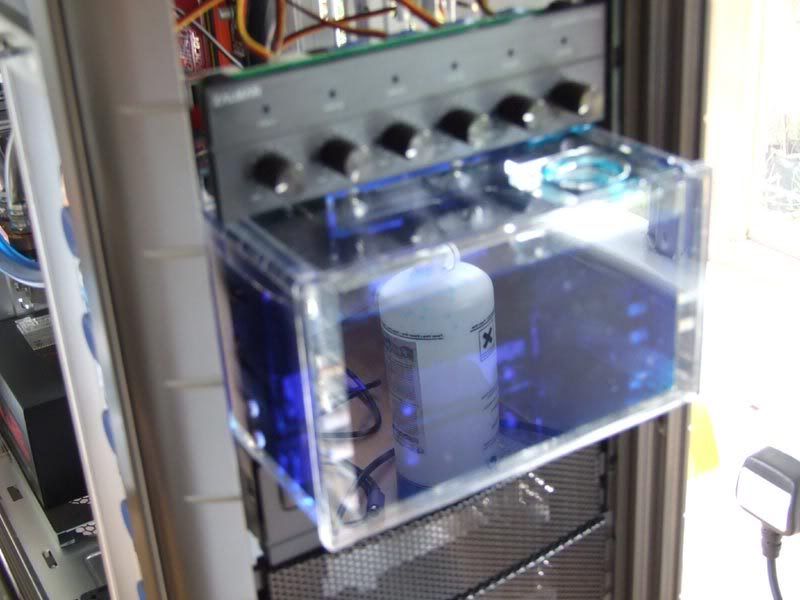 I've tilted the system making sure all trapped air makes its way into the res which is bled allowing the air to escape.. The pump is switched on and tested for 24+ hours.. I've left a white towel underneath. Any leaks will stain the towel, so it's a good visual check for next day.. 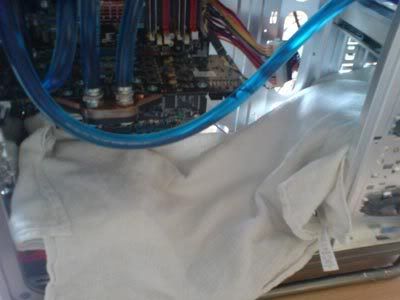
__________________
I just got lost in thought.. It was very unfamiliar territory. Techie Talk | My gaming Blog | PC spec | The Admirals log |
|
|
|
|
24-06-2008, 15:39
|
#3 |
|
HOMO-Sapien
Join Date: Jun 2006
Location: Chelmsford
Posts: 6,692
|
next day.. no leaks horraa.
 I've now turned the pump off leaving it to stand for a bit before final bled. 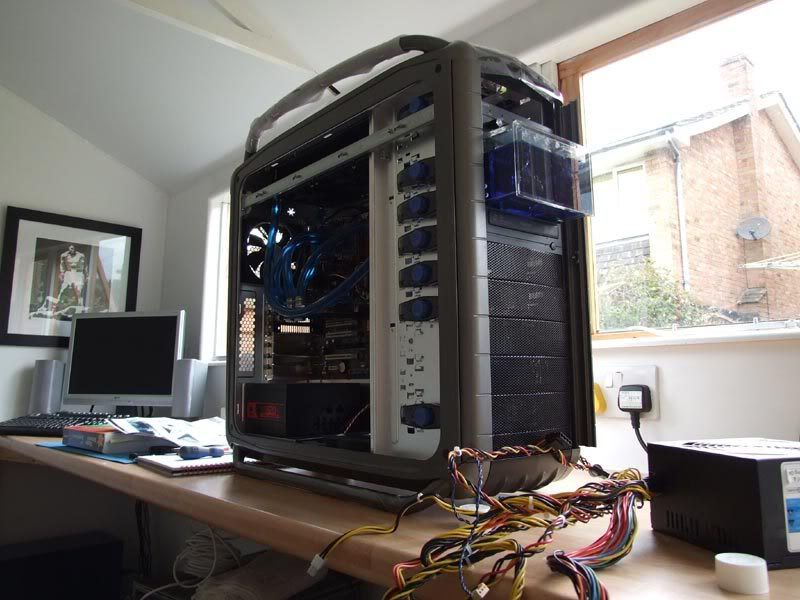 Time to start connecting everything back up and for the big switch on .. 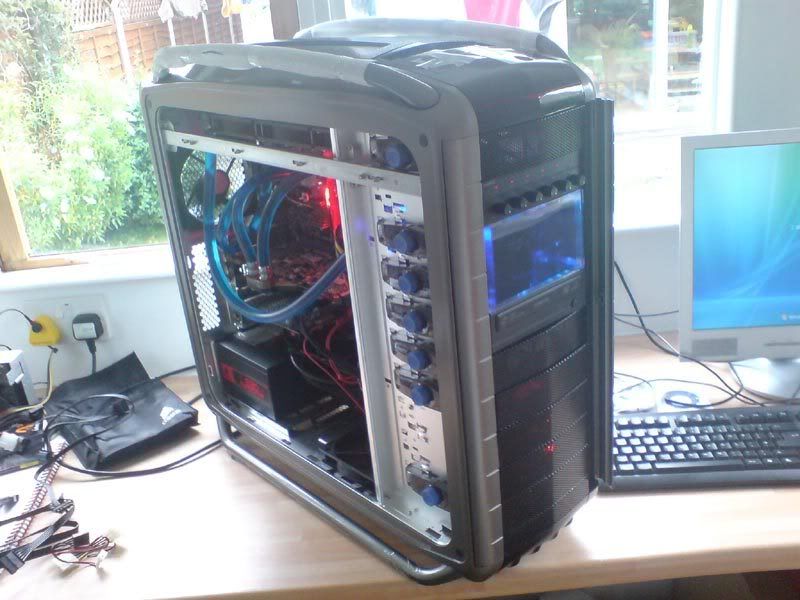 Here it is back in the games room .. 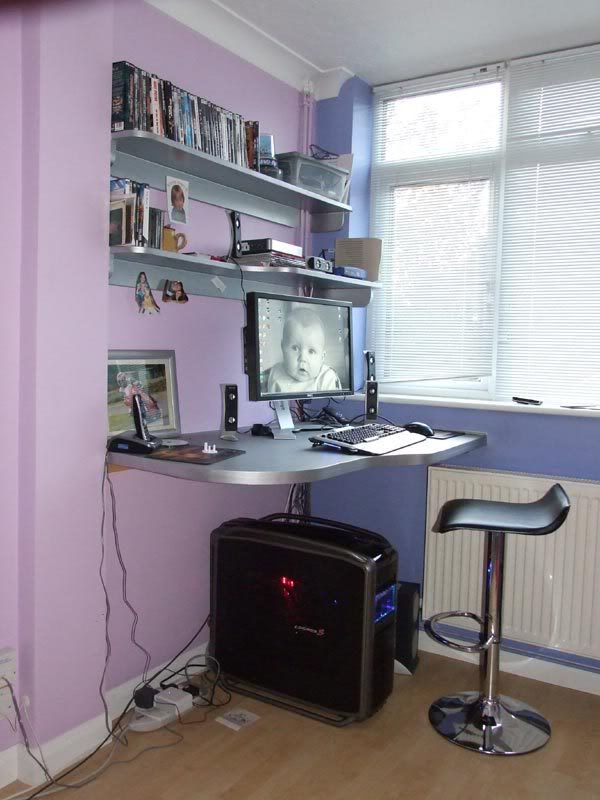 Looks pretty cool (excuse pun).. 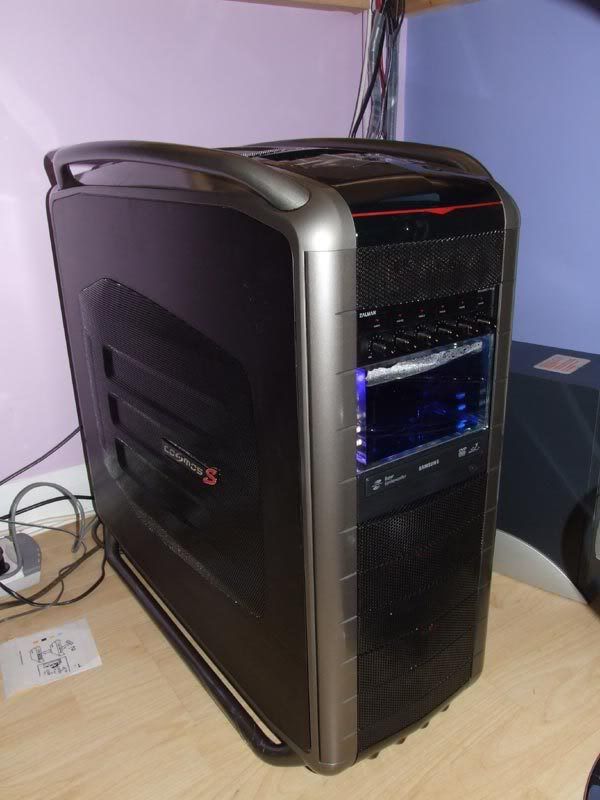 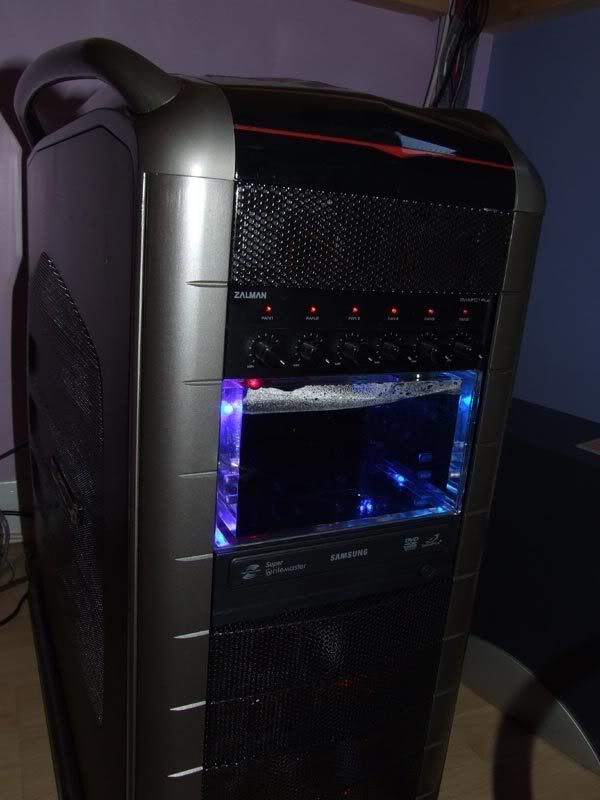
__________________
I just got lost in thought.. It was very unfamiliar territory. Techie Talk | My gaming Blog | PC spec | The Admirals log |
|
|
|
|
24-06-2008, 16:12
|
#4 |
|
The Stig

Join Date: Jun 2006
Location: Swad!
Posts: 10,713
|
Looks cool (har!)
Are all those fans on? Would have thought that you could get away with minimal fannage with all that lot, keeping it nice and quiet.
__________________
apt-get moo |
|
|
|
|
24-06-2008, 16:25
|
#5 |
|
HOMO-Sapien
Join Date: Jun 2006
Location: Chelmsford
Posts: 6,692
|
Yep, 6 fans but on max they make little noise.
__________________
I just got lost in thought.. It was very unfamiliar territory. Techie Talk | My gaming Blog | PC spec | The Admirals log |
|
|
|
|
24-06-2008, 16:51
|
#6 |
|
Do you want to hide in my box?

Join Date: Jun 2006
Posts: 14,941
|
Interesting stuff
 Something I've never considered doing myself but find interesting to read about Nice one
__________________
Halycopter |
|
|
|
|
24-06-2008, 16:54
|
#7 |
|
HOMO-Sapien
Join Date: Jun 2006
Location: Chelmsford
Posts: 6,692
|
It was much easier than i thought.. However, any upgrades is going to be interesting ??
__________________
I just got lost in thought.. It was very unfamiliar territory. Techie Talk | My gaming Blog | PC spec | The Admirals log |
|
|
|
|
24-06-2008, 18:33
|
#8 |
|
Goes up to 11!

Join Date: Jul 2006
Posts: 4,577
|
Check for water again when it gets warm! The pipes will expand a little once the water gets warm. Just when its running keep an eye on it for the first few days. I have had some of my connectors weep when warm.
The real interesting bit will come when you need to drain the system For me the main reason for doing it was my X1900XTX sounded like a small turbine when playing games, also you can overclock relatively easily without needing to go mad on air cooling. |
|
|
|
|
24-06-2008, 21:35
|
#9 |
|
The Last Airbender

Join Date: Jun 2006
Location: Pigmopad
Posts: 11,915
|
Great post Huddy
Not the sort of thing I'd be doing, but it's great to see the build in progress
__________________

|
|
|
|
|
25-06-2008, 04:11
|
#10 |
|
Stan, Stan the FLASHER MAN!

Join Date: Jul 2006
Location: In bed with your sister
Posts: 5,483
|
Nice work Huddy.
I've always fancied doing this myself. One of the things I am wary of is modifying the case for the rad/fans. Is there a list of cases on which you can fit this stuff without having to cut any bits of the case out? I'm sure there are a few where you can just screw the rad/fans onto, it would be handy knowing which ones are suitable.
__________________
 Just because I have a short attention span doesn't mean I... |
|
|
|


 Linear Mode

